


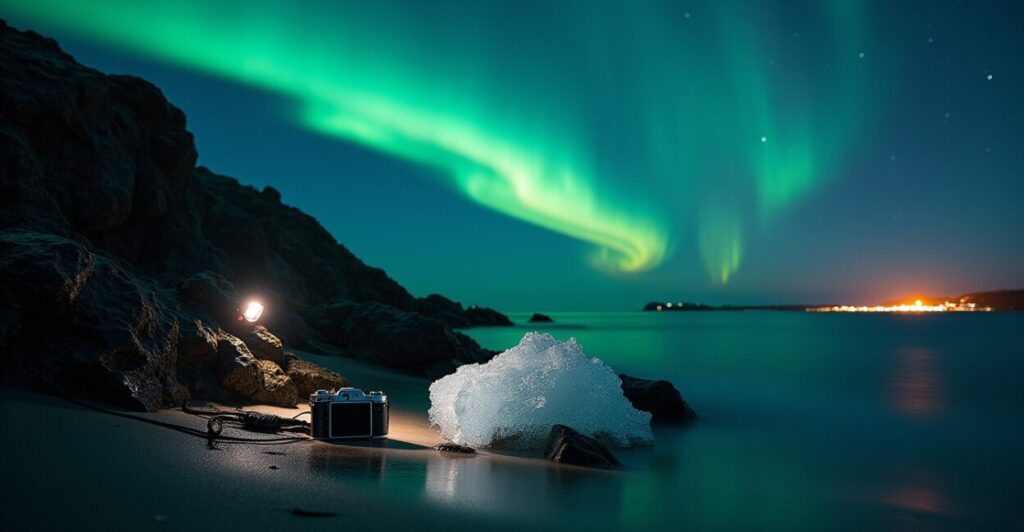
Photographing Iceland ignites a rare mix of wonder and technical challenge: cascading waterfalls, black sand beaches, and auroras that dance above glacial plains. This article teaches low-light tactics and creative setups so your images match the memory.
Local weather swings, long winter nights, and unique light conditions make Photographing Iceland a distinct discipline. Here you’ll find camera settings, site-specific tips, and Sony A7 IV examples to shoot confidently in dim conditions.
Read on to discover step-by-step techniques, gear choices, and in-field workflows that turn cold, dark hours into luminous, shareable photographs.
Understanding Iceland’s Light and Where to Shoot
Seasonal Light Behavior
Iceland’s light changes dramatically by season, from midnight sun to polar twilight. Anticipate long blue-hour windows and rapid shifts in contrast for better exposure control.
Plan shoots around sunrise, sunset, and aurora forecasts. Knowing cloud cover and solar activity helps capture dramatic skies and subtle waterfall color.
Prime Low-light Locations
Seljalandsfoss, Reynisfjara, and Jökulsárlón offer differing low-light challenges: backlit falls, reflective black sand, and ice-lit lagoons. Each demands distinct exposure strategies.
For auroras, seek dark-sky spots away from towns. Use foreground interest—cliffs, waterfalls, or icebergs—to anchor your composition in low light.
Essential Camera Settings for Low-light Success
Baselines for the Sony A7 Iv
Start with aperture f/2.8–f/4 for sharpness and depth, shutter speeds from 1/4s to 20s depending on subject, and ISO 100–3200 to balance noise and detail.
Use Raw capture, Auto ISO limits, and a base shutter speed test to determine acceptable noise. The A7 IV’s back-illuminated sensor handles mid-range ISO well.
Advanced Settings and Stabilization
Enable in-body image stabilization for handheld low-light attempts and use a sturdy tripod for long exposures. Turn on pixel-shift or multi-frame NR sparingly.
Use manual focus or focus peaking in near-darkness and mirrorless magnification for critical focus on distant auroras or waterfall textures.
Composition and Creative Low-light Techniques
Using Motion Creatively
Long exposures render silky waterfalls and smooth seas; short bursts freeze aurora ribbons. Blend exposures for detailed highlights and shadow retention.
Experiment with foreground silhouettes—rocks, ice, and cliffs—to add scale. Layer light sources like headlamps to paint foregrounds subtly in single frames.
Balancing Color and Mood
White balance impacts mood strongly: cooler tones emphasize isolation, warmer tones feel intimate. Shoot Raw to tweak color later while retaining dynamic range.
Leverage ambient light from nearby towns or volcanic glow as secondary accents. Subtle color grading can preserve aurora authenticity without over-saturation.

Site Examples and Tactical Setups
Seljalandsfoss at Dusk
Position behind the curtain of water for backlit compositions. Use a rain cover, fast aperture, and a graduated ND if sky brightness overwhelms foreground.
Try exposures between 0.5–2 seconds to capture motion while retaining rock detail. Keep lens cloths ready to combat spray on the front element.
Aurora over Open Plains
Mount the Sony A7 IV on a tripod, use wide focal lengths (14–35mm), and set shutter speeds from 4–12 seconds to capture auroral movement without star trails.
Dial ISO to maintain clean skies and slightly underexpose to protect highlights. Bracket exposures to ensure usable frames when aurora intensity spikes.
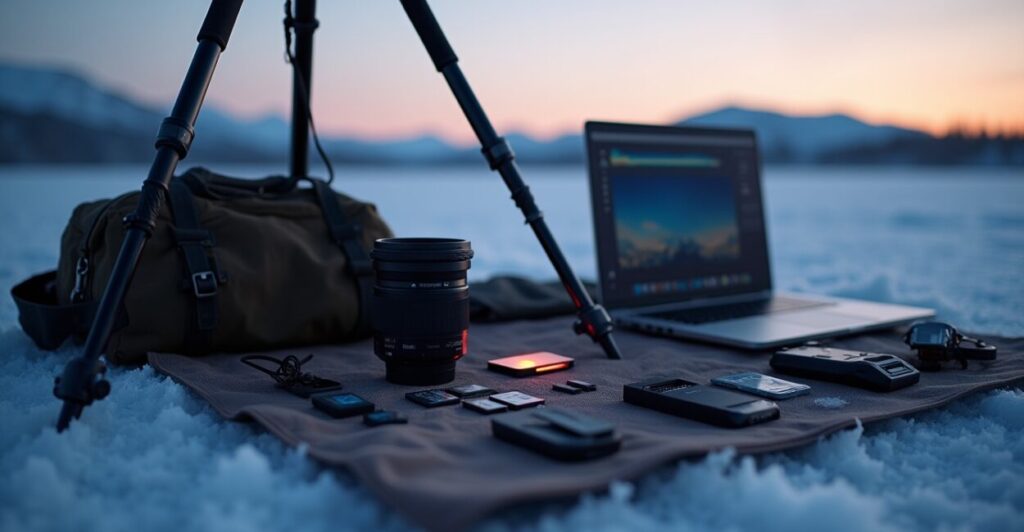
Practical Gear Checklist and Workflow
Must-have Equipment
- Sturdy tripod with spike feet for icy ground
- Weatherproof camera bag and rain covers
- Wide-angle and fast prime lenses for night scenes
Field Workflow to Stay Efficient
Charge multiple batteries and rotate them in cold conditions. Use tethering or quick-review histograms to confirm exposure on each shot.
Label and geo-tag images in-camera. Back up RAW files nightly to a portable SSD and maintain a simple naming system for later editing.
Practical Exposure Guide (quick Reference)
Settings Cheat-sheet Table
| Scene | Aperture | Shutter | ISO | Notes |
|---|---|---|---|---|
| Waterfalls at dusk | f/4–f/8 | 0.5–2s | 100–400 | Use ND or polarizer for glare control |
| Aurora, active | f/2.8–f/4 | 4–12s | 800–3200 | Prefer wide lens; watch for movement blur |
| Night landscapes | f/2.8–f/5.6 | 10–30s | 100–1600 | Stack or blend for stars and foreground |
Quick Camera Checks
Confirm lens is clean, lens hood attached, and exposure bracketing set if dynamic range is high. Recompose slightly between frames.
Monitor battery level closely; cold drains capacity fast. Keep spare batteries warm inside your jacket until needed.
Post-processing Tips and Sharing for Google Discover
Editing with Intent
Start in Raw: correct exposure, reduce noise selectively, and recover highlights. Local adjustments refine aurora color without breaking realism.
Use touch-up cloning sparingly. Emphasize contrast and clarity to make images pop on mobile feeds and Discover thumbnails.
Optimizing for Google Discover and Social
- Export high-quality JPEGs at 1200–2000px wide for mobile-first display.
- Use descriptive, keyword-rich file names including Photographing Iceland.
- Add structured data and optimized alt text on WordPress pages.
- Publish engaging captions and fast-loading pages for higher Discover potential.
Conclusion
Photographing Iceland in low light rewards patience, preparation, and a willingness to adapt. With the Sony A7 IV or similar gear, you can capture auroras and waterfalls that reflect the country’s raw emotion.
Return to the opening image of light bending over ice and black sand: the techniques here bridge that memory to a photograph you’ll be proud to share.
Faq
What Are the Best Sony A7 Iv Settings for Aurora Photography?
For aurora photography with the Sony A7 IV, begin at f/2.8–f/4, shutter 4–12 seconds, and ISO 800–3200. Use manual focus with focus peaking and wide lenses 14–35mm. Shoot Raw, bracket exposures, and monitor histograms to protect highlights and adjust for aurora intensity.
How Do I Prevent Lens Condensation and Spray at Seljalandsfoss?
To prevent condensation and spray at Seljalandsfoss, use a rain cover and lens hood, keep a microfiber cloth handy, and allow camera to acclimate slowly when moving from warm to cold. Wipe frequently and use quick-release plates for fast access while staying sheltered between shots.
Which Focal Lengths Work Best for Iceland’s Low-light Landscapes?
Wide-angle lenses (14–35mm) excel for auroras and expanses, while 24–70mm provides versatility for waterfalls and cliffs. Fast primes help in extreme low light; choose lenses with good coma control for star-rich skies and auroral detail.
How Should I Manage Batteries and Storage on Multi-night Shoots?
Manage batteries by keeping spares warm inside jacket pockets and rotating them frequently. Bring several high-capacity cards and a portable SSD for nightly backups. Charge via a multi-port USB charger and label backups to avoid data loss during field edits.
Are There Safety or Legal Concerns When Photographing Remote Icelandic Locations?
Respect signage, private property, and fragile landscapes. Follow local safety guidance, carry crampons for ice, and never turn your back on waves at black sand beaches. Check weather and road closures, and inform others of your plans for remote shoots.
External resources: Icelandic Met Office for aurora forecasts en.vedur.is, Visit Iceland for travel guidance visiticeland.com, and Sony A7 IV specifications sony.com.