


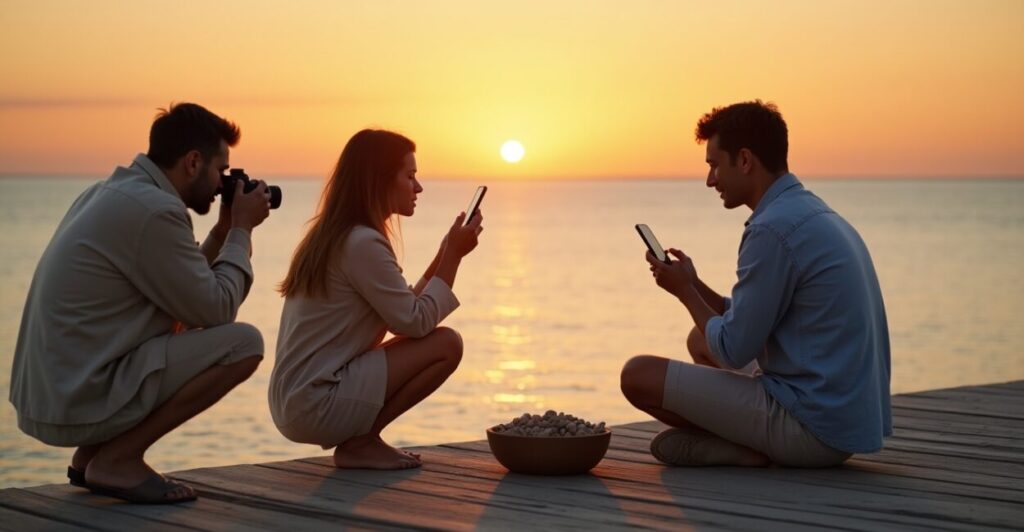
You know that moment when a sunset looks almost unreal, and you wonder why your photos feel flat by comparison, right
I’ll show you a concise, trendy 3-step golden hour editing routine that actually works, no flashy presets that overcook skin tones. Think color grading, split-toning, and selective luminance tweaks, done in a way that keeps texture and detail.
Why Golden Hour Editing Makes Sunsets Feel Cinematic
Golden hour is already generous, but bad edits can kill the mood. Here’s the deal, a small, intentional set of moves amplifies warmth while preserving gradients and highlights.
Golden Hour Editing Trick for Natural Warmth
- Apply a subtle warming tint in midtones
- Protect highlights with selective luminance
- Use split-toning to separate sky and foreground
These three micro adjustments prevent the image from going orange soup, they preserve skin and sky contrast so viewers feel depth without noticing the edit.
What Most Creators Get Wrong About Warmth
Everyone thinks more warmth equals better sunset. Not true, less is often more. Here’s what to fix first when warmth looks fake.
- Over-saturating reds and oranges
- Ignoring tint shifts that affect skin
- Cranking global exposure instead of selective luminance
Fixing these keeps faces believable and gradients smooth. Instead of blasting saturation, target midtones and use masks for the sky to avoid color spill on people.
Three-step Routine to Make Sunsets Pop (without Overprocessing)
Here’s the quick routine you can do in Lightroom, Snapseed, or on iPhone Photos. Do it in this order for predictable results.
Step 1 — Golden Hour Editing: Color Grade Midtones First
- Warming midtones +6 to +12 depending on scene
- Keep highlights slightly cooler to retain sun glow
- Check skin tones against the background
Start in midtones because that’s where mood lives. If you push highlights, you lose detail; if you only touch shadows, the warmth looks buried. Midtone grade lets warmth breathe.
Split-toning Secrets Most People Skip
Split-toning separates mood from detail, that’s the secret. Use it to give skies a warm hue while keeping foregrounds honest.
| Element | Hue | Luminance |
|---|---|---|
| Sky | 30–45 (warm) | +5 to +15 |
| Foreground | 15–25 (neutral-warm) | -5 to +5 |
Use the table as a starting compass. Small hue shifts create big perceived warmth without crushing shadows or blowing highlights.
Selective Luminance: Keep Texture and Avoid Halos
Selective luminance adjustments are non-negotiable if you want detail to stay crisp. Mask the sun, then nudge luminance only where it counts.
Golden Hour Editing with Luminance Masks
Masking the bright parts and lowering their luminance a touch preserves highlight detail, while boosting midtone luminance brings out color gradients. This prevents halos and keeps edges clean, especially around trees and hair.
What to Avoid When Chasing That Golden Glow
- Using an extreme orange preset as a one-click fix
- Raising global saturation instead of targeted HSL work
- Clipping highlights to fake drama
Those quick fixes steal nuance. A heavy preset flattens dynamic range, global saturation loses separation between colors, and clipped highlights remove the glow that makes golden hour magical.
Export and Platform Tips to Preserve Your Edit
Your carefully tuned edit can be ruined by the export step, so export smart depending on where you post.
- For Instagram, export sRGB at 1080 px shortest side
- For Google Discover, keep higher resolution and avoid heavy sharpening
- For prints, export ProPhoto or Adobe RGB with minimal compression
Compression and color profiles matter more than you think, because platforms like Google and social apps often recompress. Save a clean master and a web-friendly copy to avoid surprise shifts.

Want a quick reference? Try this: warm midtones, split-tone sky, selective luminance mask on highlights. Repeat and refine.
Curious how pros do it on different devices, check camera and color resources at National Geographic and color theory basics at Columbia University. For platform specs, see Google Developers.
Go edit one sunset now, use the 3-step rhythm and compare before/after. You’ll notice warmer skies, preserved details, and no fake orange faces.
If you post a shot, tag a friend and ask them which edit feels more real, you’ll see how small choices change perception.
How Does Color Grading Differ from Split-toning
Color grading adjusts the overall color balance across shadows, midtones, and highlights, creating an emotional tone. Split-toning applies one hue to highlights and another to shadows, producing separations like warm skies and cooler foregrounds. Use grading for cohesive mood, and split-toning to control specific ranges without touching overall exposure or texture.
Can I Do Golden Hour Edits on IPhone Only
Yes, modern iPhone apps like Photos and third-party apps allow midtone shifts, split-toning, and selective luminance. Use the selective tool to paint adjustments, or import to Lightroom Mobile for masks and HSL control. The iPhone’s RAW capture in ProRAW gives more headroom for luminance and color work, so shoot ProRAW when possible for best results.
How Much Warming is Too Much
Too much warming creates orange skin and lost detail. Aim for subtle midtone temperature shifts, often between +6 and +12 in many apps as a starting point. Check skin tones against a neutral area and compare with the unedited version. If the sky looks painted or faces lose natural variation, dial it back. The goal is mood, not disguise.
Which Apps Give the Cleanest Selective Luminance Control
Lightroom (desktop and mobile) offers masks with luminance range and brush control, Capture One excels on desktop, and Snapseed gives surprisingly fine control for a free app. On iPhone, Photos’ selective edit and ProRAW expand options. Pick an app that supports masks and HSL adjustments to keep edits targeted and natural.
What File Format Preserves Color Best for Editing
RAW formats preserve the most color and dynamic range, giving you latitude to push midtones and recover highlights. On iPhone, ProRAW is ideal. For mirrorless and DSLR, use RAW. JPEG can work for small tweaks, but it limits recovery and increases risk of banding in gradients, especially in warm sunsets where smooth color transitions matter.