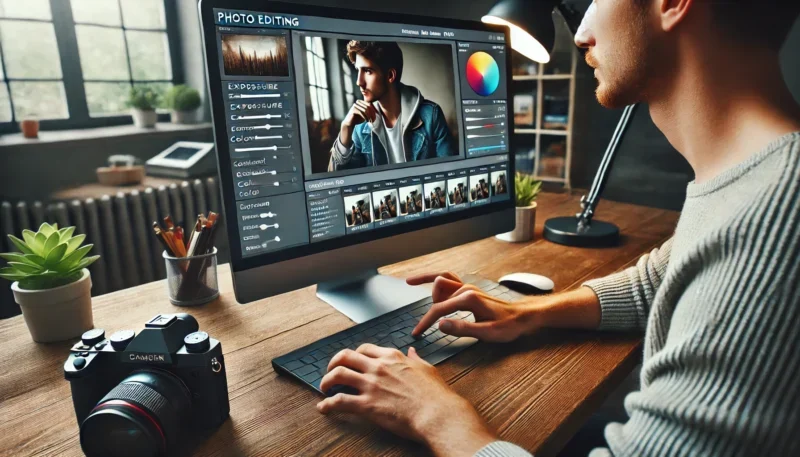
You’ve taken the shot—now it’s time to make it shine. ✨
Photo editing is where your images come to life. It’s not about fixing bad pictures; it’s about enhancing what’s already there and bringing your creative vision to the surface.
Whether you shoot with a camera or smartphone, this beginner-friendly guide will walk you through the essentials of editing your photos like a pro—step by step.
Why Editing Matters
Editing gives you control over:
-
Brightness and exposure
-
Colors and contrast
-
Sharpness and detail
-
Mood and style
Professional-looking photos often start with good lighting and composition—but it’s the edit that makes them pop.
1. Choose the Right Editing Tool
You don’t need Photoshop to get pro results. There are amazing beginner-friendly apps and software out there:
📱 Mobile Apps:
-
Lightroom Mobile (Free + Premium)
-
Snapseed (Free)
-
VSCO (Free + Filters)
-
Canva (for creative layouts)
💻 Desktop Software:
-
Adobe Lightroom (Beginner-friendly and powerful)
-
Photoshop (more advanced)
-
Darktable (Free, open-source RAW editor)
-
Capture One Express (Free for Sony/Fujifilm users)
Start with Lightroom or Snapseed—they offer excellent control with an intuitive interface.
2. Shoot in RAW (If You Can)
RAW files preserve all the details of your photo, making editing easier and more flexible.
Benefits:
-
Better control over exposure, shadows, and highlights
-
More accurate colors
-
Smoother results after adjustments
If you’re on a smartphone, check if your camera app supports RAW (like Pro Mode on Android or apps like Halide on iOS).
3. Basic Editing Workflow (Step by Step)
Here’s a simple and effective order to edit your photos:
✅ Step 1: Crop and Straighten
-
Remove distractions from the edges
-
Adjust horizon lines
-
Use the rule of thirds for balance
✅ Step 2: Adjust Exposure
-
Brighten or darken as needed
-
Fix underexposed shadows or overexposed highlights
-
Use the histogram if available
✅ Step 3: Tweak Contrast and Clarity
-
Add depth and separation between lights and darks
-
Boost clarity for more texture—but go easy
✅ Step 4: Adjust Color (White Balance & Saturation)
-
Fix unnatural tints (blue, yellow, green)
-
Warm up skin tones or cool down a sunset
-
Slightly increase saturation or vibrance for pop
✅ Step 5: Sharpen and Reduce Noise
-
Add a little sharpening for details
-
Reduce noise (especially if you used high ISO)
-
Be subtle—too much makes the image look fake
✅ Step 6: Use Selective Edits (Advanced but Worth Learning)
-
Lighten just the subject’s face
-
Darken a bright background
-
Add blur to part of the image
Most apps have brush or radial filters to make these precise adjustments.
4. Use Presets (But Don’t Overdo It)
Presets or filters can speed up your workflow and help define your style—but don’t rely on them alone.
How to use them well:
-
Start with a preset
-
Then manually adjust brightness, contrast, and colors
-
Avoid super strong filters that kill the natural look
You can even create your own presets after editing a few shots you love.
5. Keep It Natural
This is one of the most common beginner mistakes: overediting.
Signs of overediting:
-
Unrealistic skin tones
-
Blown-out highlights or crushed shadows
-
Super sharp or grainy look
-
Over-smoothed skin or too much bokeh blur
Less is more. Let your subject and composition shine.
6. Export Settings for Best Quality
When you’re done editing, export your image with the right settings for where it’s going.
For Web or Social Media:
-
Format: JPEG
-
Resolution: 2048px on the long edge (standard for Facebook/Instagram)
-
Quality: 80–90%
-
Color Profile: sRGB
For Printing:
-
Format: TIFF or high-quality JPEG
-
Resolution: 300 dpi
-
Keep the original aspect ratio
Always save a backup of the original file and the edited version.
Bonus: Build Your Own Editing Style
As you get more comfortable, you’ll start developing your unique editing approach. Maybe you love:
-
Warm tones and film vibes
-
Bright whites and minimal contrast
-
Moody blacks and golden hour color grading
-
Light pastels and low saturation
Your editing style becomes part of your signature. Don’t rush it—let it evolve naturally as you shoot and experiment more.
Final Thoughts: Your Photos, Your Voice
Editing isn’t about hiding flaws—it’s about enhancing your message and making your photos feel like yours.
The best part? You don’t need a studio, expensive gear, or years of experience. With a bit of practice and these steps, you’ll start editing like a pro—creating images that grab attention and tell powerful stories.
Now go grab a photo you love, open your favorite app, and start playing. The magic is in your hands. ✨📷

