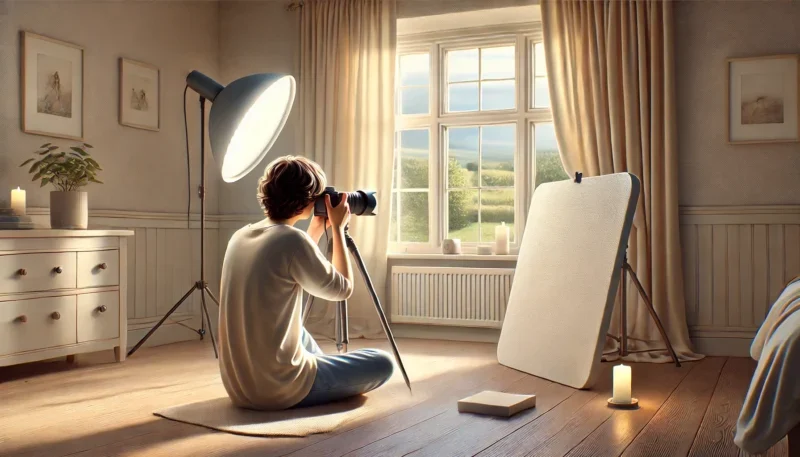
Light is the most essential element in photography. In fact, the word “photography” literally means “drawing with light.”
Understanding how to see, shape, and use light is what separates snapshots from striking images. The good news? You don’t need fancy gear or a studio setup to start learning.
This guide will teach you the basics of photography lighting so you can start taking better photos with whatever light is around you.
Why Light Matters So Much in Photography
Light affects everything in your photo:
-
Brightness and exposure
-
Mood and emotion
-
Texture and detail
-
Color temperature and tone
-
Depth and contrast
Learning to read and control light helps you tell better visual stories—whether you’re shooting portraits, landscapes, still life, or street scenes.
1. Types of Lighting in Photography
🟡 Natural Light
This is sunlight—your most accessible and free light source.
Pros:
-
Soft and beautiful during golden hour
-
Versatile for indoor and outdoor use
-
No equipment needed
Cons:
-
Hard to control
-
Changes throughout the day
-
Can be harsh at noon
💡 Artificial Light
Anything man-made—lamps, LEDs, flashes, strobes, etc.
Pros:
-
Full control over brightness and direction
-
Consistent and predictable
-
Useful indoors or in low light
Cons:
-
Can be expensive or technical
-
Needs power sources or modifiers
2. Direction of Light
Where the light is coming from dramatically changes the feel of your photo.
☀️ Front Lighting
-
Light hits the subject head-on
-
Reduces shadows, soft and flattering
-
Good for portraits and product shots
Tip: Use it when you want even lighting and minimal drama.
🌅 Side Lighting
-
Light comes from either side of the subject
-
Adds depth and texture
-
Highlights shape and detail
Great for: portraits, food, architecture, still life
🌇 Back Lighting
-
Light comes from behind the subject
-
Creates silhouettes, glow, or rim light
-
Can cause lens flare
Perfect for: moody, artistic shots or sunlit outlines
3. Hard Light vs Soft Light
🔆 Hard Light:
-
Comes from a small, direct source (e.g., noon sun, bare bulb)
-
Creates sharp shadows and high contrast
-
Dramatic and intense
Use when: you want bold, edgy looks
🌤️ Soft Light:
-
Comes from a large or diffused source (e.g., cloudy sky, window with sheer curtain)
-
Creates gentle shadows and smooth transitions
-
Flattering for skin and detail
Use when: you want a clean, natural, or romantic look
4. Understanding Golden Hour and Blue Hour
🌇 Golden Hour
-
1 hour after sunrise / 1 hour before sunset
-
Warm, soft, flattering light
-
Ideal for portraits, landscapes, street photography
🌌 Blue Hour
-
Right before sunrise / after sunset
-
Cool tones, moody and magical
-
Great for cityscapes, night portraits, long exposures
Tip: Use a tripod during blue hour for sharp results.
5. How to Control Light as a Beginner
You don’t need a studio setup to start shaping light—just a few simple tools and tricks.
Try These:
-
Reflector: Bounce light onto the subject using a white foam board, silver reflector, or even a car sunshade
-
Diffuser: Soften harsh sunlight with a white bedsheet, sheer curtain, or professional diffuser
-
Black cloth/card: Block light or reduce reflection (for moodier shots)
Bonus Tip: Your own body or hand can also block or shape light in creative ways!
6. Indoor Lighting Tips
Shooting indoors? You don’t need to rely on overhead lights.
Tips:
-
Use window light for soft, natural results
-
Turn off mixed light sources (yellow + white = weird colors)
-
Use lamps with diffusers or shades to soften the glow
-
Mind the white balance—use “daylight” settings when needed
7. Best Lighting for Different Photography Styles
| Style | Ideal Lighting |
|---|---|
| Portraits | Soft, side light or window light |
| Street | Natural light (golden hour or shadows) |
| Food/Product | Side or top soft light + reflectors |
| Landscapes | Golden hour, blue hour, sunrise/sunset |
| Night/City | Long exposure with ambient light |
Final Thoughts: Start Noticing the Light
Photography is about seeing the light before you press the shutter.
So here’s your challenge:
Today, take a moment to observe how light falls on different things around you—your desk, a face, a wall, the trees outside. Pay attention to shadows, color temperature, and direction.
You’ll start to notice the kind of light you like, and from there, you’ll know how to chase it—or shape it.
The more you understand light, the more power you have to create photos that feel intentional, emotional, and alive.

