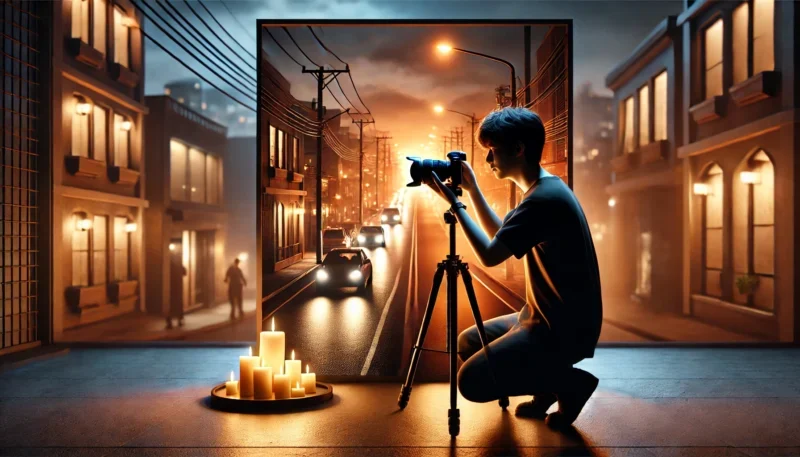
Low-light photography can feel intimidating at first. Grainy images, blurry subjects, and dark corners are common issues when you’re shooting in dim conditions—especially if you’re not using flash.
But here’s the good news: with the right techniques and a bit of practice, you can capture beautiful, atmospheric images in low light using only natural or ambient light. In fact, some of the most stunning photos come from embracing the shadows.
This guide will show you how to take amazing low-light photos without flash, whether you’re using a DSLR, mirrorless, or even a smartphone.
Why Avoid Flash?
While flash can help in some situations, it often:
-
Flattens your subject with harsh light
-
Kills natural ambiance and mood
-
Causes red eyes or shiny skin
-
Distracts or disturbs people in events or candid scenes
That’s why many photographers prefer learning to work with the available light instead.
1. Use a Wide Aperture
The wider your aperture, the more light enters your lens.
What to do:
-
Set your camera to Aperture Priority (A or Av) or Manual Mode (M)
-
Use the lowest f-number your lens allows (e.g., f/1.8, f/2.8)
Result:
-
More light = brighter image
-
Blurred background (bonus for portraits)
Tip: If your lens doesn’t go below f/3.5, consider investing in a 50mm f/1.8—a budget-friendly game-changer for low-light photography.
2. Increase ISO (But Know the Limits)
ISO controls your camera’s sensitivity to light.
Settings guide:
-
ISO 400–800: Indoors or during sunset
-
ISO 1600–3200: Low-light situations
-
ISO 6400+: Very dark scenes (may introduce grain)
Tip: Every camera handles high ISO differently. Learn your camera’s sweet spot for balancing brightness and noise.
3. Use a Slower Shutter Speed
A slower shutter speed lets in more light—but be careful: it can introduce motion blur if the camera or subject moves.
Tips:
-
For handheld shots: stay above 1/60 (or use stabilization)
-
For static scenes (night cityscape, indoor object): use a tripod and go as low as 1–2 seconds
-
Use a remote or timer to avoid shaking the camera
4. Stabilize Your Camera
Shaky hands = blurry photos in low light. Stabilization makes a huge difference.
How to stabilize:
-
Use a tripod or mini tripod
-
Lean against a wall or place the camera on a stable surface
-
Use a remote shutter or 2-second timer
-
Turn on image stabilization (IS/VR/IBIS) if available
5. Find and Use Available Light Sources
Work with what’s already there: lamps, candles, streetlights, neon signs, window light.
Tips:
-
Position your subject near the light source
-
Use warm indoor lights for cozy vibes
-
Backlighting creates silhouettes or soft glows
-
Streetlights or storefronts offer amazing mood lighting at night
Bonus: Let shadows add emotion or drama to your shot.
6. Shoot in RAW (Not Just JPEG)
RAW files store more detail, especially in shadows and highlights—perfect for low-light editing.
Benefits:
-
More control over exposure and color
-
Easier to reduce noise
-
Better recovery of dark areas
Tip: Use editing software like Lightroom, Darktable, or Snapseed (for mobile RAW files).
7. Use Manual Focus When Autofocus Struggles
In low light, autofocus might hunt or miss focus.
What to do:
-
Switch to manual focus
-
Use focus peaking (if your camera has it)
-
Zoom in on your screen (Live View) to fine-tune focus
This is especially helpful for static scenes or close-ups.
8. Smartphone Tips for Low Light
Modern smartphones are surprisingly good in low light—with the right techniques.
Do this:
-
Use Night Mode or Pro Mode
-
Tap to focus and expose manually
-
Hold your phone steady or use a mini tripod
-
Use apps that allow manual control (e.g., Halide, ProCamera, Lightroom Mobile)
Bonus: Clean your lens—smudges can ruin sharpness in dark scenes.
9. Edit to Enhance (Not Fix)
Use editing to:
-
Adjust brightness and contrast
-
Reduce noise
-
Recover shadow detail
-
Add warmth or mood
But avoid over-editing—it can create unnatural results, especially in dark scenes.
Final Thoughts: Embrace the Darkness
Low-light photography is not just a technical challenge—it’s an artistic opportunity.
It lets you:
-
Create mood and emotion
-
Highlight contrasts and silhouettes
-
Tell stories that daylight can’t capture
So next time the sun goes down or the lights are dim, don’t pack up your gear—lean in, adjust your settings, and capture the beauty in the shadows.
With patience and practice, you’ll discover that some of your most powerful photos come from the darkest places.

