


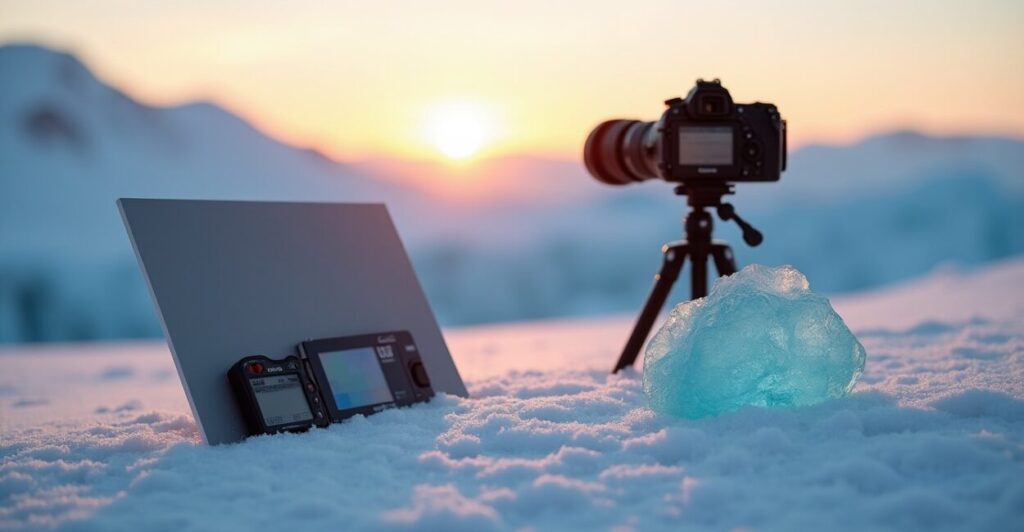
The stark light, icy textures and aurora-draped skies make Iceland winter photography a dream and a challenge. You’ll feel the cold bite, the shutter’s whisper, and the thrill of capturing otherworldly landscapes.
Winter trips require equipment strategy, from cold-proof batteries to tripod technique for glacier shots at Skaftafell. This guide explains what to pack, how to shoot, and where to point your lens for dramatic results.
Prepare to learn practical gear tips, scene-by-scene approaches, and safety-smart workflows that let your Iceland winter photography shine in Discover feeds and search results. Expect clear steps, emotional imagery, and field-tested advice.
Essential Cold-weather Gear for Iceland Winter Photography
Camera and Lenses Strategy
Choose weather-sealed bodies and fast, sharp lenses to handle low light and contrasty scenes. Protect glass with lens hoods and microfiber cloths for condensation control.
Bring a mid-range zoom and a wide-angle prime for auroras and sweeping glacier panoramas. Include a telephoto for distant seals or mountain details.
Batteries, Power and Cold-proof Solutions
Cold drains batteries fast; carry multiple spares in insulated pockets. Rotate warm and cold packs to maintain charge life during long shoots.
Use lithium batteries and a portable power bank rated for low temperatures. Consider chemical hand warmers to keep battery compartments above freezing.
Tripod and Stability Techniques for Glacier Shots at Skaftafell
Tripod Selection and Setup
Choose a robust tripod with spiked feet for icy terrain and a center column that locks securely. Stability beats weight for long exposures on glaciers.
Always lower one leg into snow for extra support and use a camera strap as a tether to reduce toppling risk in wind.
Composition and Long-exposure Methods
Shoot low to emphasize ice textures and use graduated ND filters to balance bright skies and darker ice. Try 5–30 second exposures for smooth water and cloud motion.
Bracket exposures for high dynamic range scenes and blend in post to keep detail in highlights and deep shadows while preserving natural color.
Lighting, Exposure and White Balance in Arctic Conditions
Dealing with Low, Angled Winter Light
Winter light in Iceland is soft and directional; shoot during golden hour for warm tones on ice and cool shadows. Move quickly as light changes fast.
Favor side light to reveal texture. Use reflectors sparingly or let neutral snow act as a natural fill for faces and foregrounds.
Setting Exposure and Custom White Balance
Expose for highlights to prevent blown ice reflections, then recover shadow detail in RAW. Use highlight-weighted or manual exposure modes for control.
Set custom white balance on-location with a grey card for accurate ice tones, or correct in RAW to preserve subtle blue and cyan nuances in glaciers.

Safety, Logistics and Local Knowledge for Winter Shoots
Weather Awareness and Avalanche Safety
Monitor forecasts from the Icelandic Met Office and avalanche bulletins before heading into glacial areas. Conditions can shift from calm to hazardous rapidly.
Hire local guides for glacier access and crevasse awareness. Respect closures and route advice to avoid risky terrain and to maximize shooting time safely.
Transport, Daylight and Permit Considerations
Plan travel around short daylight windows and road conditions. Rent a suitable 4×4 and check road.is for closures to avoid being stranded in remote spots.
Some locations require permits or guided access; confirm rules for protected areas like Skaftafell to shoot responsibly and legally.
Camera Settings, Techniques and Workflow in Extreme Cold
Practical Shooting Settings
Start with ISO 100–800 for low noise, aperture f/5.6–f/11 for depth, and shutter speeds from 1/60s to multi-second for creative effects. Adjust for auroras or fast action.
Use mirror lock-up, electronic front curtain, and remote release to eliminate vibration for sharp glacier textures. Check histograms to avoid clipping.
Field Workflow and File Management
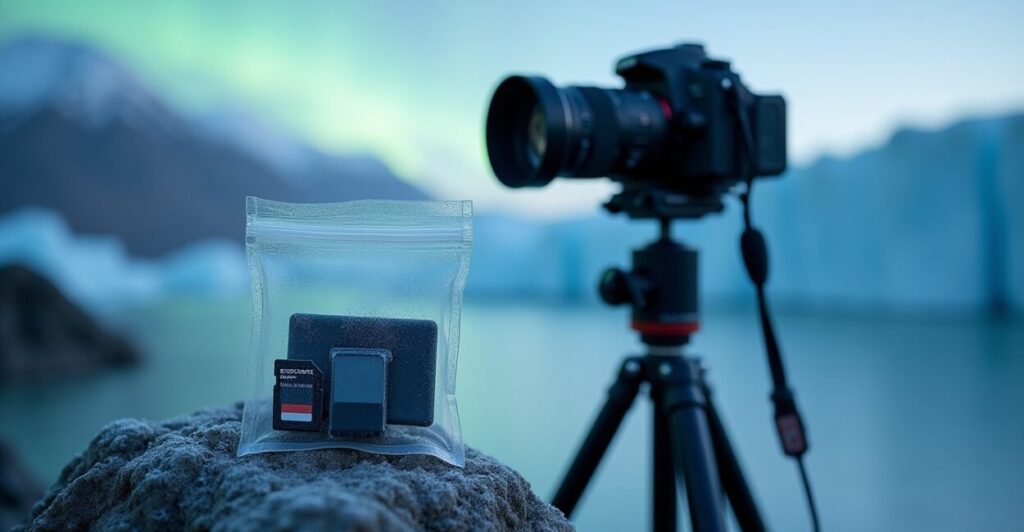
Protect cards and drives from condensation by sealing them in zip bags. Keep backups and offload daily to a rugged SSD or cloud when possible.
Label folders with date and location for efficient post-processing. Prioritize RAW capture for maximal tonal recovery and color grading flexibility.
Post-processing Tips to Make Your Iceland Winter Photography Pop
Raw Development and Color Grading
Begin in RAW to recover dynamic range and correct white balance. Enhance contrast selectively and preserve highlight detail in ice and sky.
Use split-toning to accentuate cool shadows and slightly warm highlights for depth. Keep edits natural to honor the landscape’s mood and authenticity.
Sharpening, Noise Reduction and Export Settings
Apply targeted sharpening on texture-rich areas like ice and rock. Use mild noise reduction on skies and high-ISO shadow regions to retain detail.
Export images for web at sRGB, with 72–150 dpi and appropriate compression for Discover visibility. Create high-res TIFFs for prints when needed.
Conclusion: Embrace the Cold and Tell Stories with Light
Iceland winter photography rewards those who combine technical preparation with emotional vision. Cold-proof batteries, a sturdy tripod, and glacier knowledge unlock dramatic, shareable images.
Return with images that carry the chill, the silence, and the light — and remember that respect for safety and environment preserves these scenes for everyone.
Faq
What Batteries and Storage Tips Keep Cameras Working in Iceland Winter Photography?
Use high-quality lithium batteries, carry at least three spares per camera, and keep them close to your body to preserve warmth. Rotate batteries frequently: use one until it cools, swap for a warm spare, and recharge when possible. Store memory cards in a dry, insulated container to prevent condensation. Bring a rugged power bank rated for low temperatures and a small insulated pouch for electronics. Consider chemical warmers for pockets and a silica desiccant in your camera bag to absorb moisture during transitions between cold outdoors and warmer vehicles or shelters.
How Do I Shoot Auroras Effectively During Iceland Winter Photography Nights?
Set aperture wide (f/2.8–f/4), ISO 800–3200 depending on camera performance, and shutter speed 5–20 seconds to capture detail without star trails. Use a sturdy tripod and remote release or 2-second timer to avoid vibration. Compose with a foreground element—lava, a glacier edge, or mountain silhouette—for depth. Manually focus to infinity and review test frames, adjusting exposure as aurora intensity changes. Keep battery rotation ready; cold nights drain power fast. Dress warmly to stay steady during long, patient aurora displays.
Are Guided Glacier Tours Necessary for Capturing Skaftafell Glacier Shots Safely?
Guided glacier tours are strongly recommended for Skaftafell if you plan to access crevassed or steep areas. Guides provide local route knowledge, safety gear, and ropes, reducing risk and improving shot opportunities. For simple viewpoints, independent visits can work, but avoid venturing onto glaciers without instruction. Guides also time shoots for best light and can help with tripod placement and framing. Consider hiring a guide for advanced compositions or when conditions are variable, ensuring safety and maximizing photographic returns.
Which Locations Combine Ease of Access with Strong Results for Iceland Winter Photography?
Accessible, high-impact spots include Jökulsárlón lagoon, Diamond Beach, and viewpoints in Skaftafell for glacier vistas. These areas offer dramatic ice forms, reflections, and aurora prospects without extreme trekking. Nearby amenities reduce logistical strain and allow longer shooting windows. For seascapes, Sólheimasandur’s plane wreck is reachable with a hike, delivering unique compositions. Always check local access rules and conditions, and prioritize safety—some locations require guided access in winter to avoid hidden hazards like black ice or sudden tides.
How Do I Balance Exposure Between Bright Ice and Dark Foregrounds in Winter Scenes?
Use exposure bracketing or graduated neutral density filters to manage wide dynamic range between bright ice and darker foregrounds. Shoot RAW and bracket by 1–2 stops to blend exposures in post, preserving highlight texture while restoring shadow detail. Alternatively, expose for highlights and lift shadows in RAW to avoid clipping reflective ice. Utilize local adjustments in post-processing—dodging and burning, selective curves—to retain natural contrast. Check histograms in-camera and prefer highlight preservation; details clipped in highlights are harder to recover than shadow noise.
External references: Icelandic Met Office, Visit Iceland.