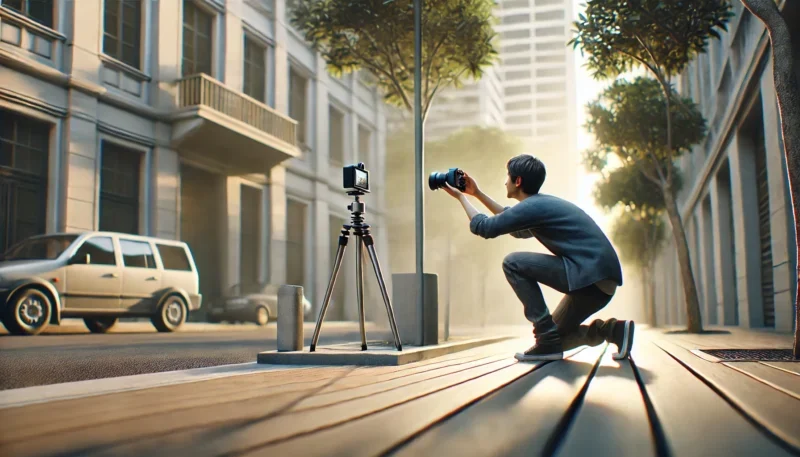
You don’t need expensive gear to take stunning photos. In fact, many professional-looking shots are captured with smartphones, compact cameras, or entry-level DSLRs. The real secret? Knowing how to use what you’ve got.
These 7 simple, beginner-friendly tips will instantly improve your photography—no matter what camera you’re using.
1. Find the Right Light
Light is the heart of photography. Without good lighting, even the best camera struggles to create a strong image.
Natural Light Tips:
-
Golden Hour (1 hour after sunrise or before sunset): warm, soft, beautiful light.
-
Avoid harsh midday sun: it creates sharp shadows and overexposed highlights.
-
Use window light indoors: it’s soft and flattering, great for portraits or still life.
Bonus Tip:
If the light is too strong, use a white cloth, napkin, or even your hand to diffuse it.
2. Use the Rule of Thirds
Imagine your image divided into a grid of 9 equal rectangles—3 across and 3 down. The idea is to place your subject along these lines or where the lines intersect.
Why it works:
-
Adds balance and interest
-
Keeps the viewer’s eye moving through the photo
-
Makes your compositions more professional
Most cameras and phones let you enable gridlines in settings—use them!
3. Get Closer and Simplify
Too many beginner photos are taken from far away, with lots of unnecessary background.
Try this:
-
Step closer to your subject (physically, not zooming)
-
Remove distractions from the frame
-
Focus on one main element in your photo
A clean, focused shot is almost always more powerful than a busy one.
4. Change Your Perspective
Don’t always shoot from eye level. Try:
-
Low angles (shooting from the ground)
-
High angles (above your subject)
-
Side angles, close-ups, or reflections
Changing your angle adds drama, emotion, and creativity to even the simplest subjects.
Fun challenge:
Take 10 photos of the same object from 10 different angles.
5. Make Use of Leading Lines
“Leading lines” are natural or man-made lines in a scene that guide the viewer’s eyes toward the subject.
Examples:
-
Roads, fences, rivers
-
Sidewalks, walls, railings
-
Shadows or architecture
Place your subject at the end of the line or in its path to draw attention to them.
6. Focus on the Eyes (for Portraits)
When photographing people (or animals), the eyes should be sharp and in focus—even if the background is blurred.
Why? Because eyes connect viewers to the subject emotionally.
Tip:
If your camera has touch focus, tap on the eyes before taking the shot. If using manual focus, zoom in and fine-tune before shooting.
7. Edit Lightly to Enhance, Not Overdo
You don’t need heavy editing—just small tweaks to:
-
Brightness/Exposure
-
Contrast
-
Sharpness
-
White balance
-
Cropping
Use apps like Snapseed, Lightroom Mobile, or even your phone’s built-in editor. The goal is to enhance your photo—not change it completely.
Pro Tip: Always save a copy of the original image so you can go back if needed.
Bonus: Practice Makes Progress
The best way to improve your photography is to practice intentionally. Take your camera (or phone) and:
-
Try a photo walk in your neighborhood
-
Choose a theme for the day (e.g., shadows, colors, textures)
-
Re-create your favorite images from other photographers
-
Post your best shots online for feedback
You don’t need the perfect conditions or location. The more you shoot, the better your eye will become.
Final Thoughts: You Can Take Great Photos, Starting Now
You don’t need professional gear, expensive lenses, or years of experience to take beautiful photos. All you need is a willingness to observe, a few foundational techniques, and the motivation to keep practicing.
These tips will help you:
-
See light and composition more clearly
-
Bring more creativity to your everyday photos
-
Make the most of any camera you’re using
So grab whatever camera you have right now—and start shooting with intention. 📸
The world around you is full of beautiful, fleeting moments—capture them your way.

